


Thanks for the reply and clarifications columbus. I easily understood it only because you explained it very well :clap:
Sorry, I did not understand that bit....regarding the 2nd BB line. It does make the chart look messier than before.
I use a combination of MACD and RSI (not merged with the price graph) as backup indicators to confirm the trend before acting.....did fairly decent with that approach today.
Always looking to make it better though.....maybe with BB 20,1
True, it is very difficult using the bollinger worm in live trades....especially during these volatile times. I keep looking at the nifty graph as well most of the time to get a feel of the trend there....
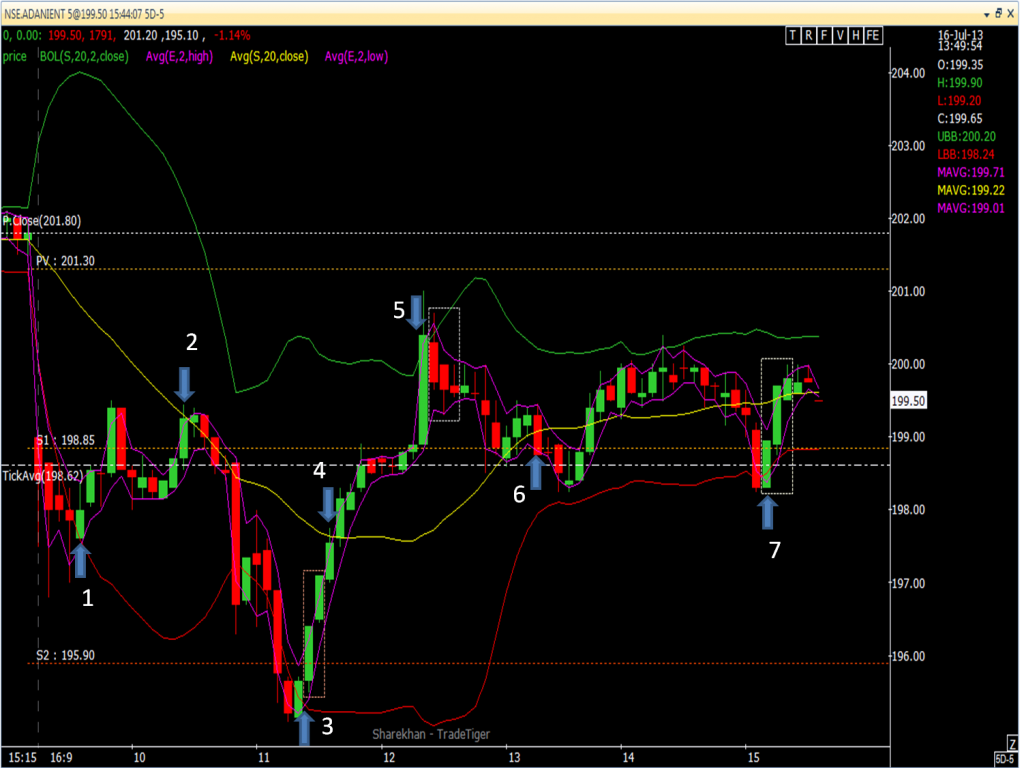
BULLISH TREND
BB(20,2)LOW...>BB(20,1)LOW...>SMA-20...>BB(20,1)TOP...>BB(20,2)TOP
BEARISH TREND
BB(20,2)TOP...>BB(20,1)TOP...>SMA-20...>BB(20,1)LOW...>BB(20,2)LOW
BB(20,2)LOW...>BB(20,1)LOW...>SMA-20...>BB(20,1)TOP...>BB(20,2)TOP
BEARISH TREND
BB(20,2)TOP...>BB(20,1)TOP...>SMA-20...>BB(20,1)LOW...>BB(20,2)LOW
I use a combination of MACD and RSI (not merged with the price graph) as backup indicators to confirm the trend before acting.....did fairly decent with that approach today.
Always looking to make it better though.....maybe with BB 20,1
True, it is very difficult using the bollinger worm in live trades....especially during these volatile times. I keep looking at the nifty graph as well most of the time to get a feel of the trend there....